This tutorial will show you how to create a price list using Excel data and InDesign Place command.
- You can download the free project template from the button above.
InDesign Place command is the only way of importing Excel data directly into InDesign. It has a relatively limited feature set. This restricts its application to projects with only the simplest requirements.
Pagination combines the InDesign Place command ease of use with a much broader range of possibilities.
Table of Contents
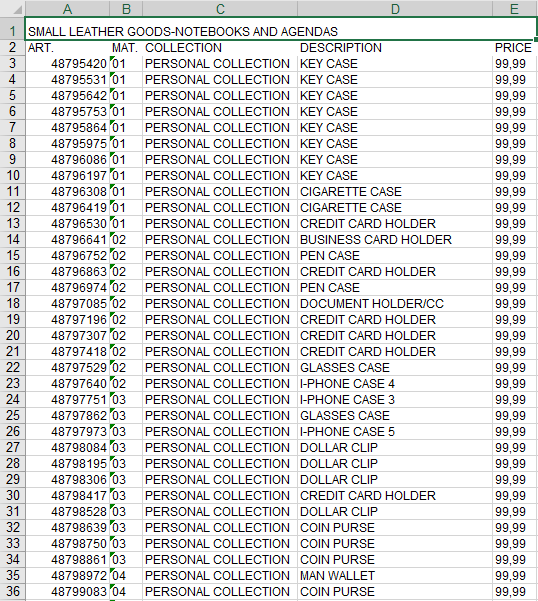
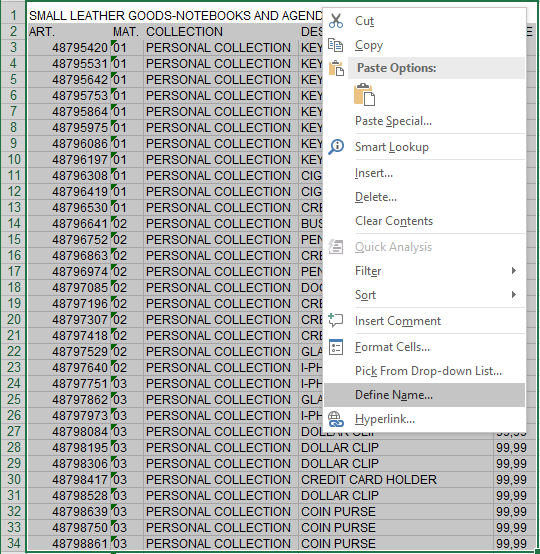
- Preparing the Excel file
- Selecting a cell range
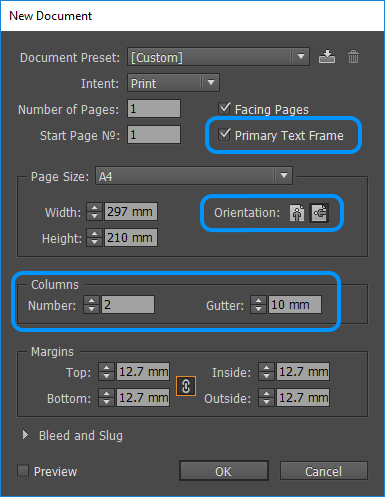
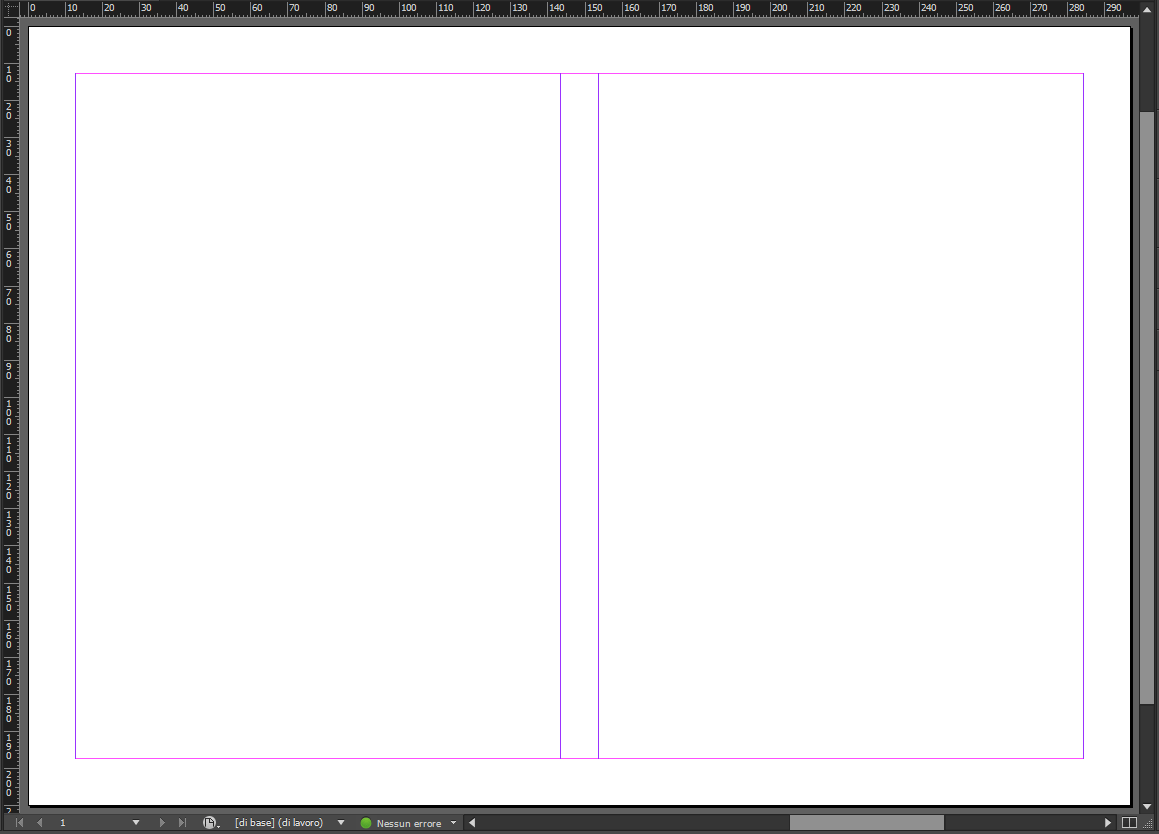
- Starting our InDesign document
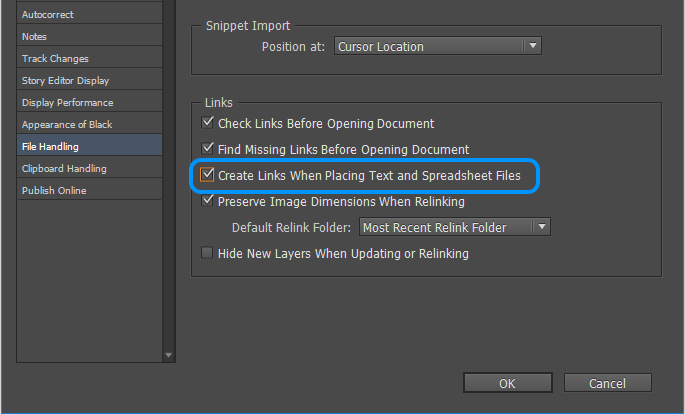
- Linking InDesign and Excel
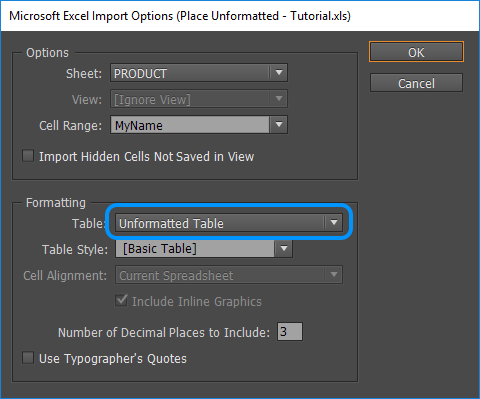
- Deploying the Place Command
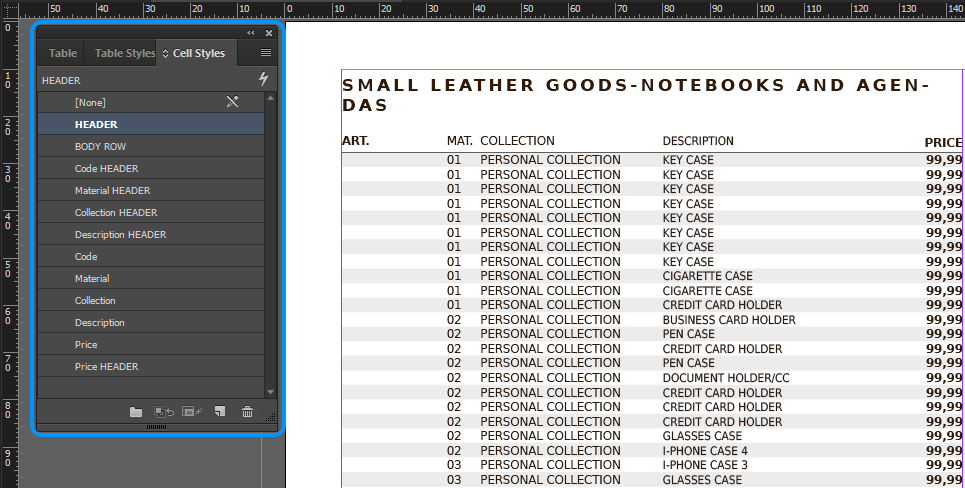
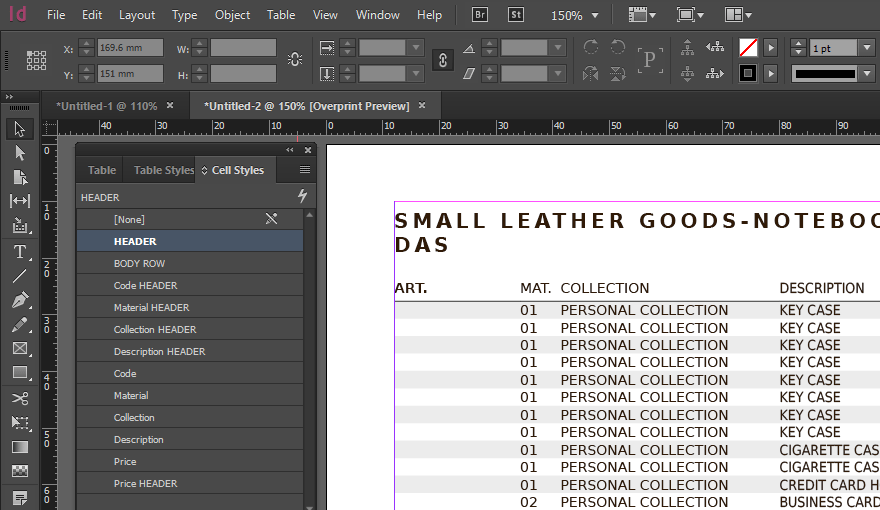
- Styles