Excel’s image insertion feature offers an efficient solution for managing products, price lists, and catalogs. By combining visuals with textual information, Excel transforms spreadsheets into dynamic resources that enhance product representation.
Whether creating price lists, designing catalogs, or streamlining inventory management, Excel’s image insertion empowers product managers to organize, communicate, and present offerings with precision and flair.
In this tutorial, we will show you how to easily insert an image in Excel.
Table of Contents
- Open Excel
- Open the Worksheet
- Select the Cell
- Insert Picture from File
- Insert the image file
- Adjust Picture Size and Position
- Save Your Workbook
- Hint
Steps
Open Excel
Launch Microsoft Excel on your computer. If you don’t have Excel installed, you can download and install it from the official Microsoft website.
Open the Worksheet
Open the worksheet where you want to insert the picture. You can create a new workbook or use an existing one.
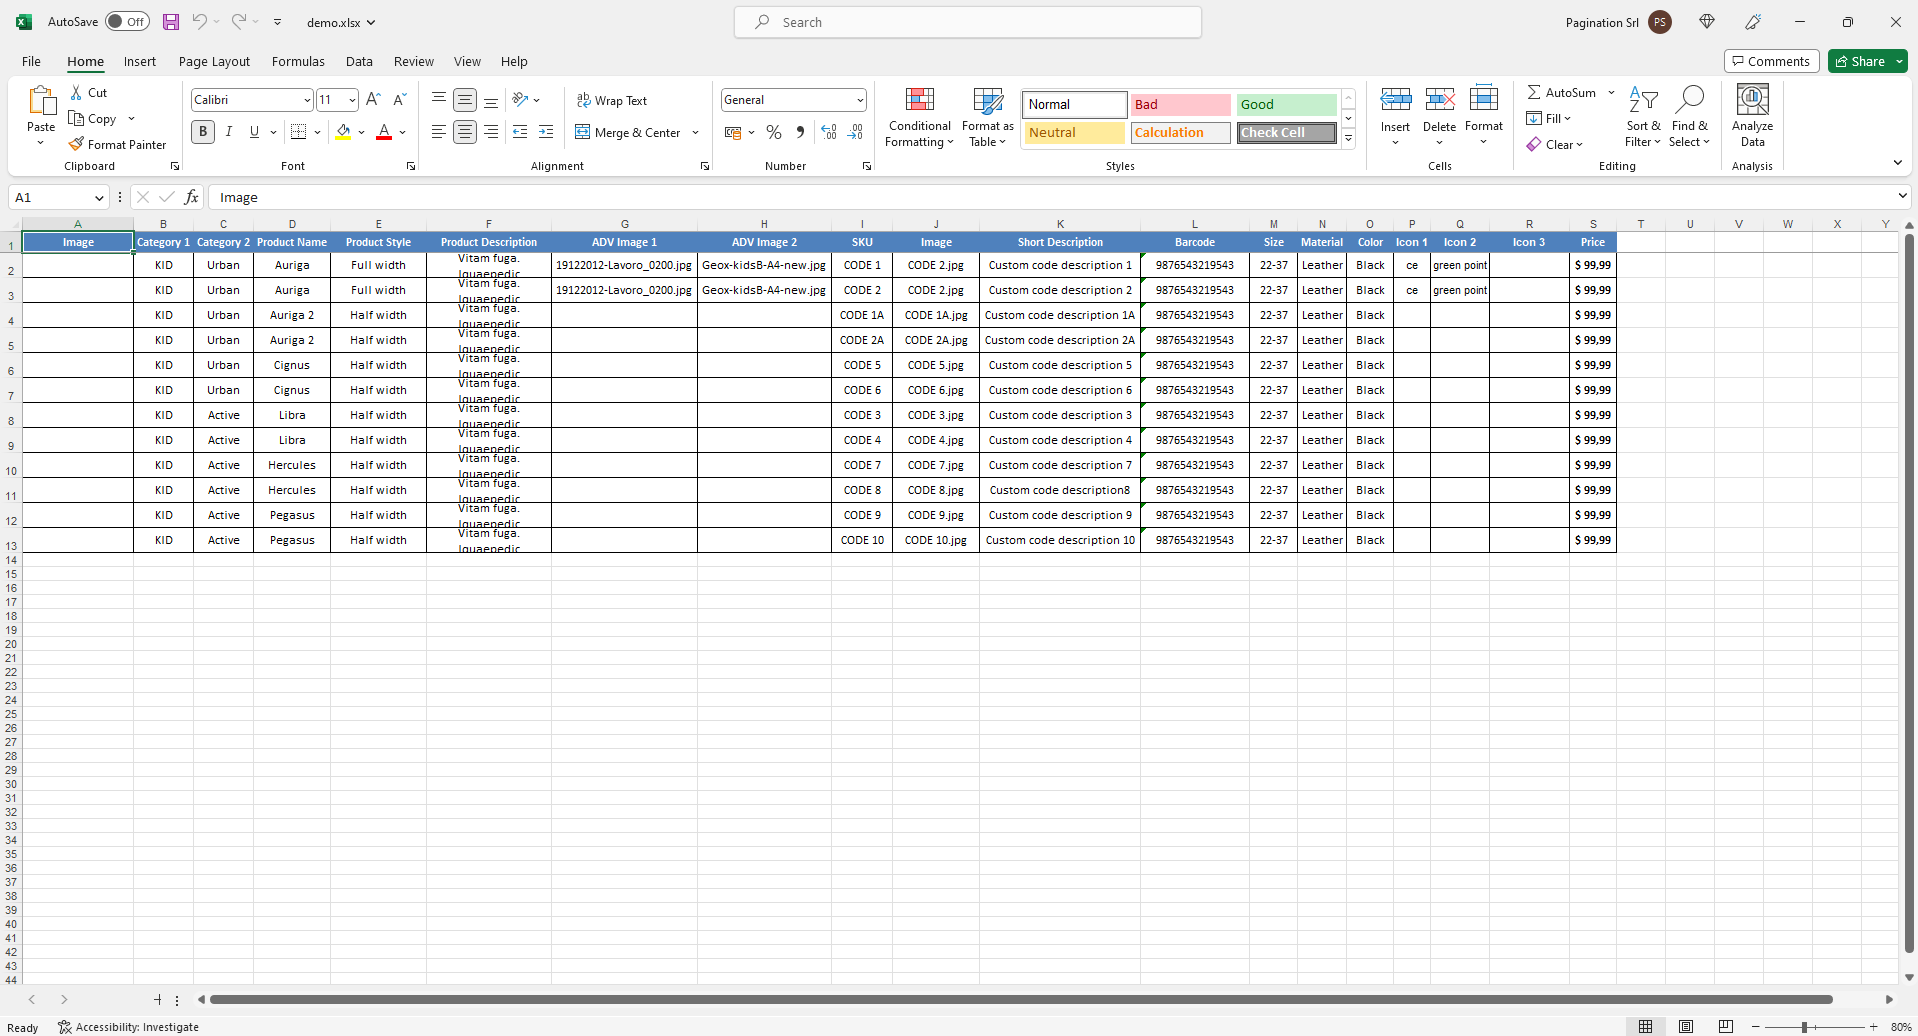
Select the Cell
Click on the cell where you want to insert the picture. The selected cell will be in the top-left corner of the picture.

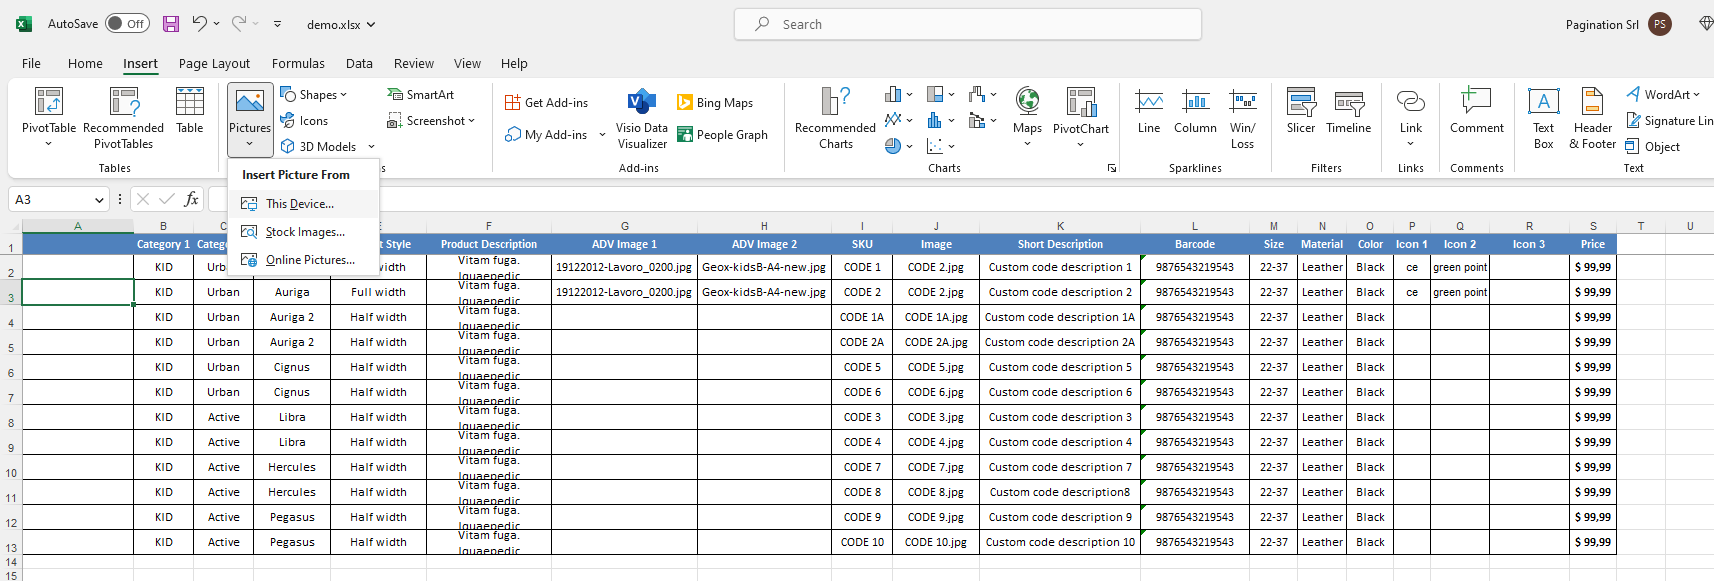
Insert Picture from File
Go to the “Insert” tab on the Excel ribbon at the top of the screen.
Click on the “Pictures” button. This will open a file dialog box.
Click “This device…” from the drop-down menu.
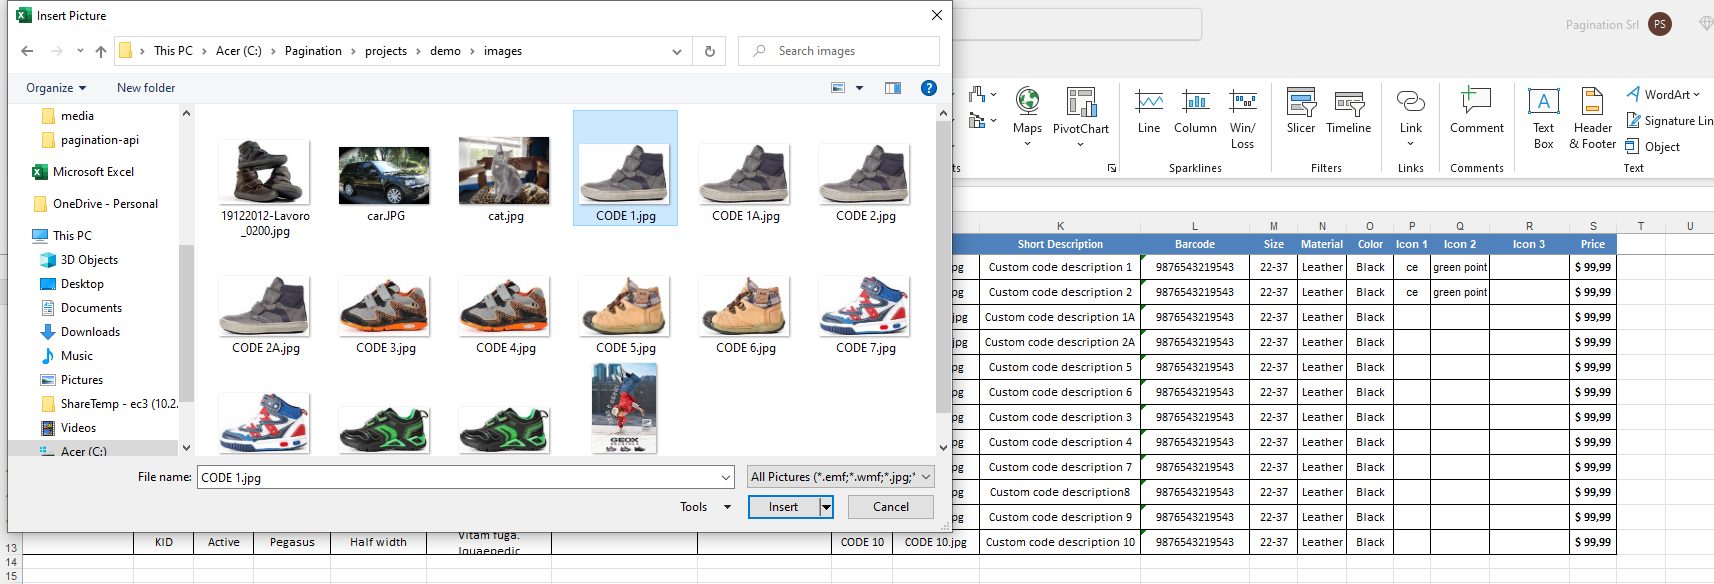
Insert the image file
A new window is open. Browse your computer’s files and select the picture you want to insert.
Click the “Insert” button in the file dialog box.
In this step, you can also select more than one image.
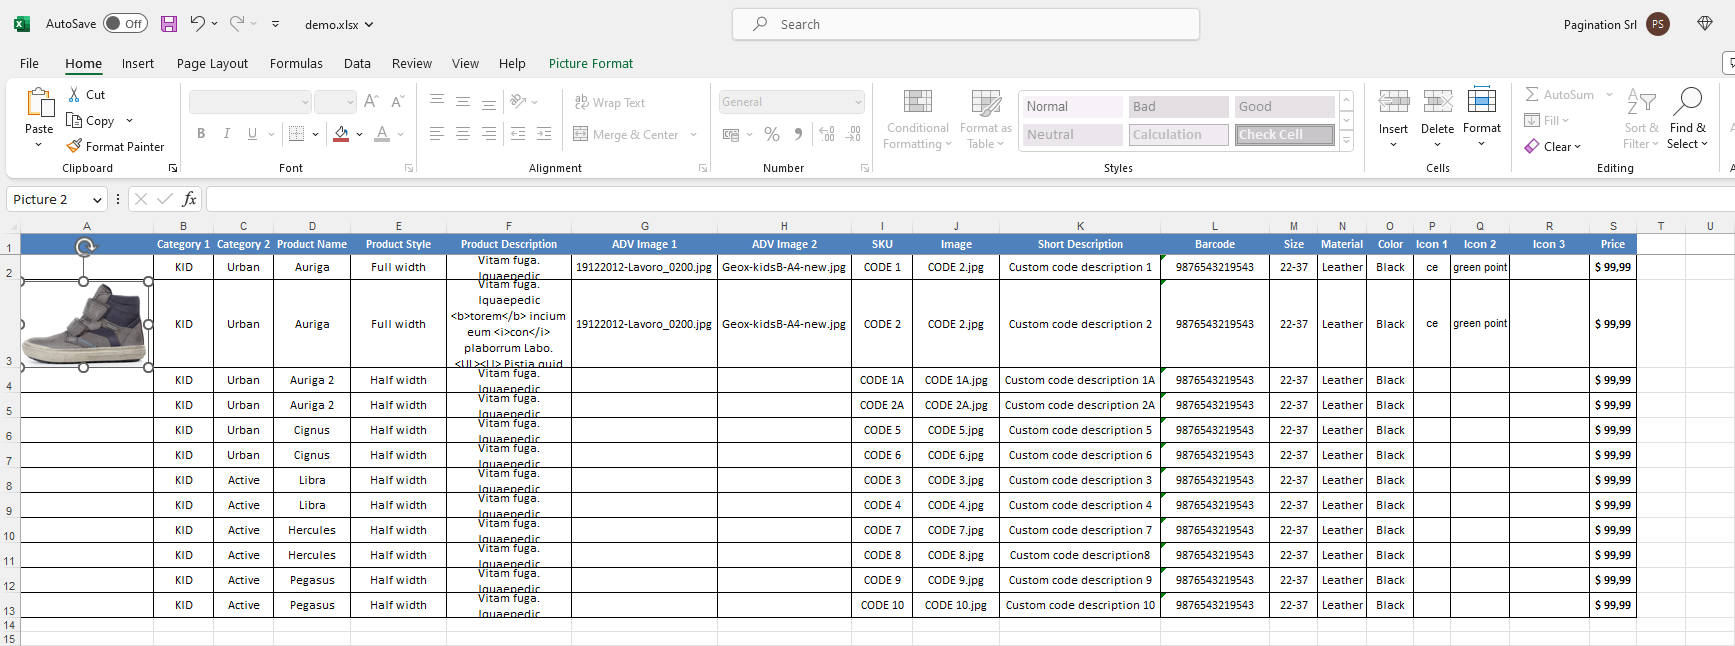
By default, the picture will be inserted.
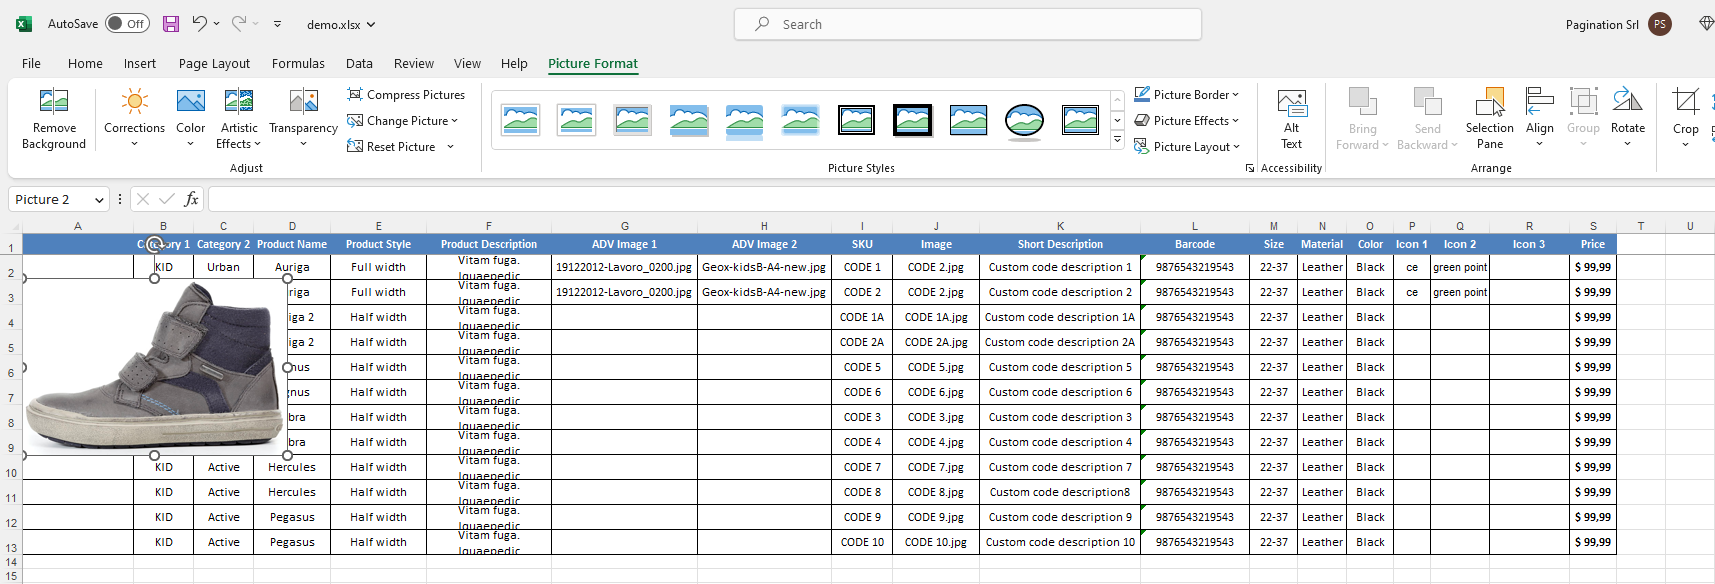
Adjust Picture Size and Position
You can adjust its size and position as needed. To do this:
- Click on the inserted picture to select it.
- Use the sizing handles on the corners and sides to resize the picture, this keeps the aspect ratio of the image intact.
- Click and drag the picture to move it to a different position within the worksheet
Hint: Using the ALT key and resizing the image with the mouse, the size of the image will snap and arrange with the border of the cell as it comes close to it.
Save Your Workbook
You can repeat steps 3-6 until all pictures are in Excel.
Once you have inserted and formatted the pictures, remember to save your Excel workbook to retain the changes you have made.
Hint
When you add an image to Excel it is normally placed on a different level, it is not anchored to any cell. If you want to embed an image you can change the image properties with the “Size and Properties” option:
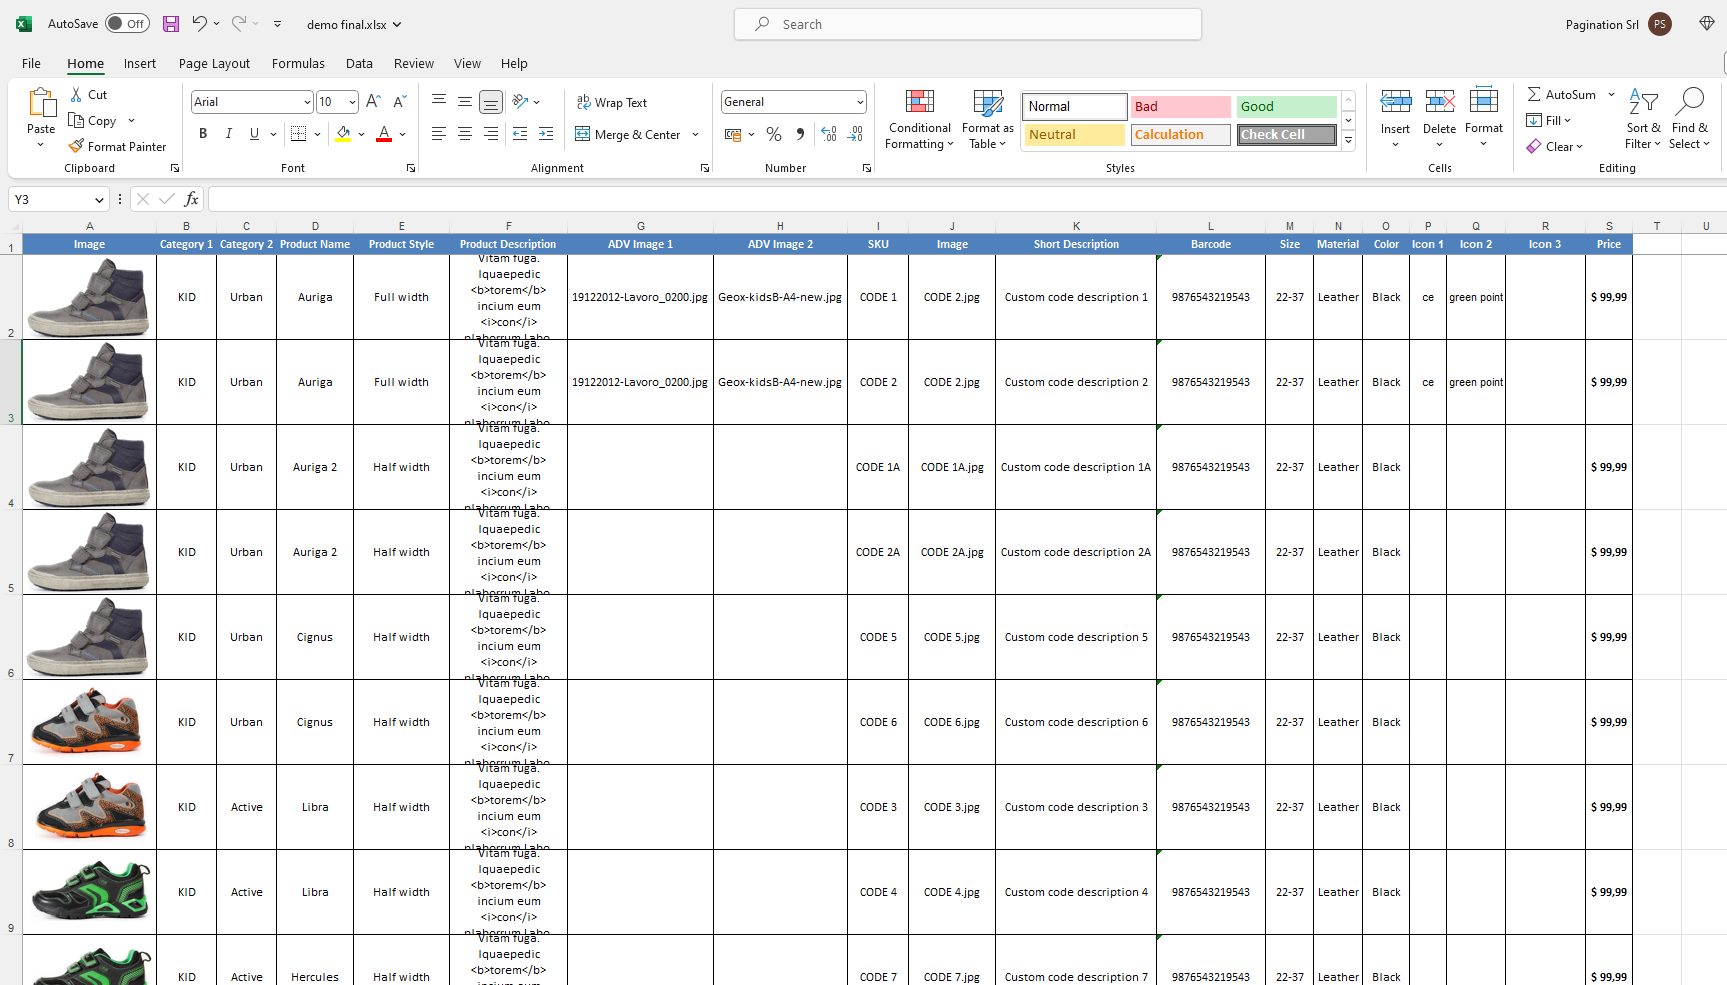
- Resize the inserted picture so that it fits properly within a cell, make the cell bigger if needed, or merge a few cells
- Right-click on the image and choose “Size and Properties”
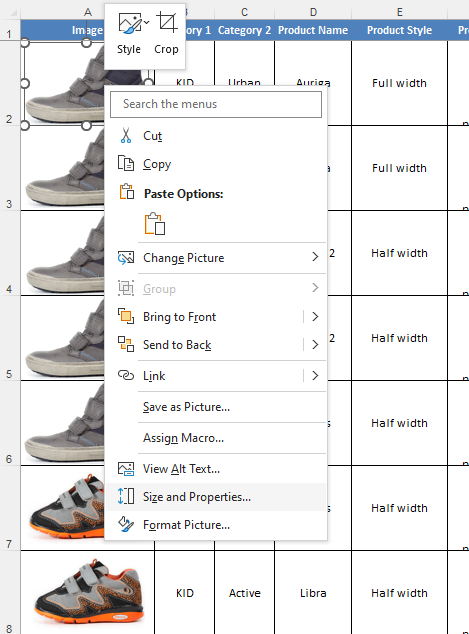
- A new window opens on the right side of the document with possible options to choose from and select the “Move and size with cells” option

You can repeat these steps for each image individually to lock multiple images. You can also insert two or more images into one cell if needed. With this option, when you move, copy, filter or hide cells, the images will also be moved, copied, filtered, or hidden. The image in the copied/moved cell will be placed the same way as the original.


Most mentioned “How to insert picture in Excel cell” Limitations
- Cannot automatically insert multiple pictures in Excel;
- Unable to automatically decide the size and position of individual images;
- Unable to decide the structure of the Excel output which may be different from that of the input;
- You cannot automatically make changes to the Excel layout (merging cells, row height, column width, adding columns, calculations).
To overcome these limitations, try Excel Generator, the new service provided by Pagination that allows you to create an Excel file with images in a jiffy.
 WATCH DEMO